this is a stub
VirtualBox is the shorthand name for Oracle VM VirtualBox, a virtualization product that allows people and companies to run multiple operating systems into computers/servers.
I use VirtualBox to run Windows 10 instances on my Linux computers. Sometimes I need to test or research a specific tool that runs on Windows only, and for that VirtualBox comes handy.
I tried online virtual Desktops before, too expensive. They are also impractical when you need to test an app that requires large files, for example, video editors.
I tried Windows VPSes, but they were also expensive time wise, as I had to invest my time on networking, permissions, OS updates, and with the fact that some Windows apps just don’t work well on Windows Server editions! Yes. For those you are stuck with the Home/Pro editions of the OS.
So I removed those problems with VirtualBox running a Windows 10 Home edition as a guest.
VirtualBox installation
It’s very straight forward on Ubuntu.
sudo apt install virtualbox
Getting a Windows installation disk
Then you need to download a Windows image file.
You can search for “Windows image file ISO download” to get to Microsoft’s page.
After filling in a quick form, Microsoft will make a temporary download link available to you. Download the file. It’s a large one, some 5 to 6GB.
Creating your virtual machine
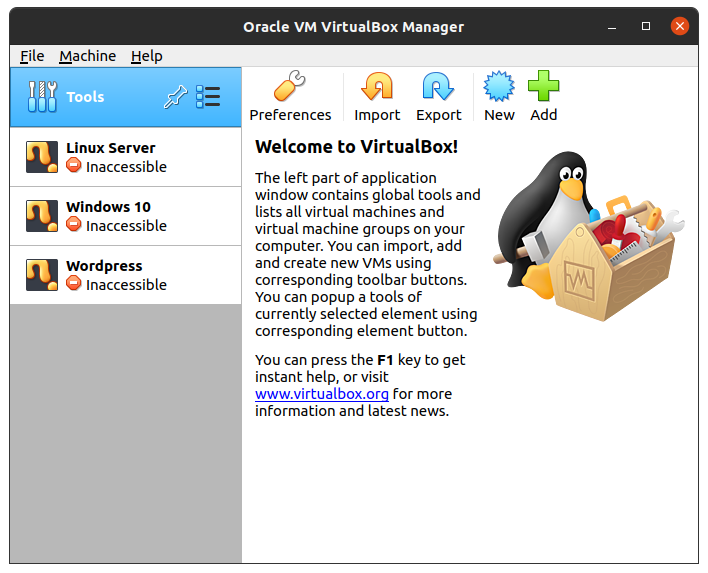
Once the file finished downloading, open VirtualBox and click the open to create a new “Virtual Machine”.
A this dialog below will come up.
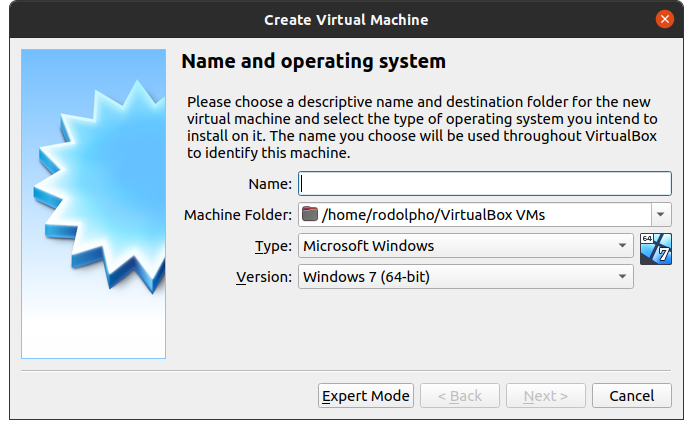
Give your new Virtual Machine a friendly name, find a good location to it in your disk, select the type of OS and its version. Of course this type/version selection must match with the disk image you have just downloaded from Microsoft.
The step is for you to define how much memory your virtual machine will “borrow” from your actual computer which “hosts” it.
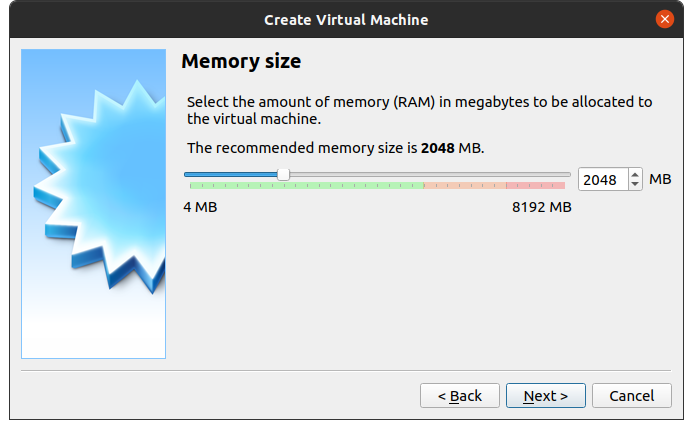
It will be suggested to you something around 2GB (2048MB) of RAM. If you think it won’t be enough for the kind of usage you will be giving to this virtual machine, allocate more memory by dragging the control to the right side.
It’s always a good idea to allocate RAM in full GB increments, meaning 1024MB at a time. So if you want to make 6GB available, you should set it 6 x 1024, or 6144MB.
The cool thing is that you can change this setting later if you like, even after the new OS is installed.
Following to that is storage. Disk space for the OS and apps. Again, VirtualBox will suggest you some space. Adjust it to your needs.
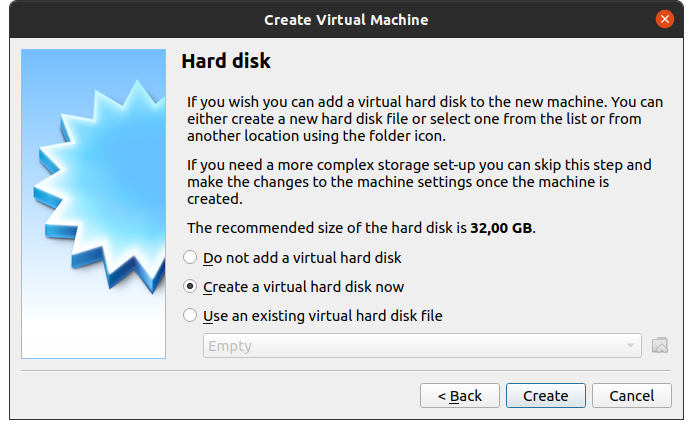
I always go with a “virtual hard disk”. I don’t know if it is possible to add more storage space later.
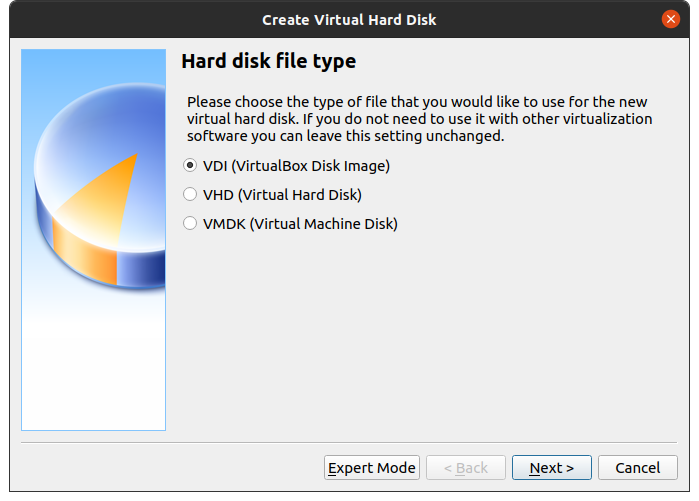
As you can see in the following step, the virtual hard disk, your storage, is a file in the host system. Yes. Here you can choose the type of that file. I always go with VDI.
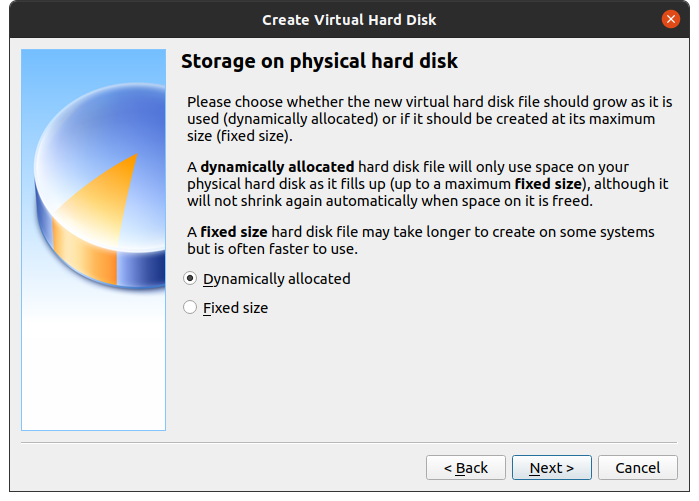
In the next step you can decide whether you want the virtual disk to have a fixed size to your host system, all those GB hanging in there waiting to be used, or you want VirtualBox to manage that space for you, allocating more space if needed until the maximum disk size you have defined earlier is reached.
Remember the VDI option you set before? Now you must tell VirtualBox where to store that .vdi file in your computer’s storage. Find a nice place to it. Then define how much of it will be dedicated to files, including your app files. Adjust accordingly.

Once you click “Create”, VirtualBox will do all the magic to have a blank “virtual machine space” ready for Windows to be installed.
Installing Windows
Back to VirtualBox main panel, notice that there is a virtual machine listed on the left-hand side area. That is the one you have just created. Click once on it to select it and then the “run” button at the top of the main panel.
That is going to launch your virtual machine. It’s like pressing the physical on/off button on your laptop of desktop computer.
A new window will pop-up for you to briefly see the famous “black screen” showing the computer is at startup.
But since, there is no operating system installed yet, VirtualBox is intelligent enough to ask for the Windows installation disk — that one you have download a while ago. Click on the file explorer button and navigate through your folders until you find the .iso file. Click to select it and confirm.
VirtualBox will take care of things from this point. You just have to interact with Windows’ installation wizard.
Important: you can install Windows even if you don’t have a product key — meaning, you haven’t paid Microsoft for a license. Windows will limit your experience here and there, but won’t prevent you from installing your apps and running them. If that is your situation, when asked for a license key, select the “I will add later”-or-something-like-that option to move on.
Starting Windows
…
