TR-DR
The timeout is due to a closed TCP port in the web server, which you have to open in order to access the login form. In this post I will show how to create a firewall rule that allows communication through that TCP port.
Initial assumptions for this tutorial are that you were able to successfully log into your GCP instance via SSH and go through the 3 very simple installation steps described in VestaCP’s website.
Once the installation process is complete, I’m assuming you had tried to access VestaCP with the browser. Probably, you’ve got a blank screen for a minute or so until the connection timed out.
That is because the script runs on a specific TCP port, port 8083, which is closed by default in any GCP project.
https://[your-public-IP]:8083
So let’s go ahead and open that TCP port.
Log in to your GCP account and go to VCP network > Firewall

Click on [+] CREATE FIREWALL RULE

And then complete the form with your information. Notice that we are opening inbound access to that TCP port for any server.
Notice the assigned “Target tag” named “lamp” in this case. I named it like that. You can choose the name that suits you best. You are going to use that tag to reference this firewall rule to your VM instance.

Save this.
Now go back to your VM instance. You will need to append that firewall rule to your server running VestaCP.
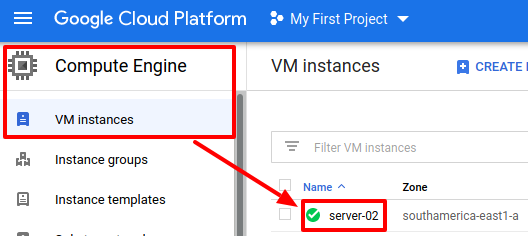
Once the VM Instace details page loads, click on Edit.
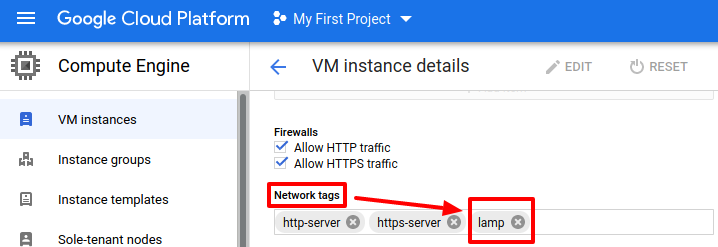
Scroll down until you find the Network tags section.
You will have to inform the tag associated to the firewall rule you had just created. In my case, I used the tag “lamp”.
Save this and it’s done.
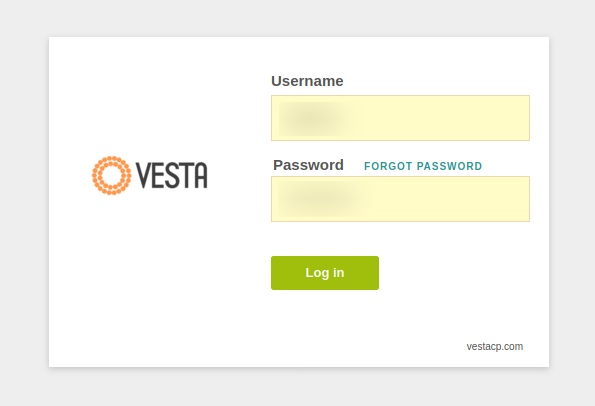
Try to access your VestaCP server now. You should see the log page (the access credentials were automatically generated and displayed to you at the end of the CLI installation process).

Leave a Reply
You must be logged in to post a comment.